5th Avenue On Site Mould

While I was at Hyde Park, I had to privilege to go into New
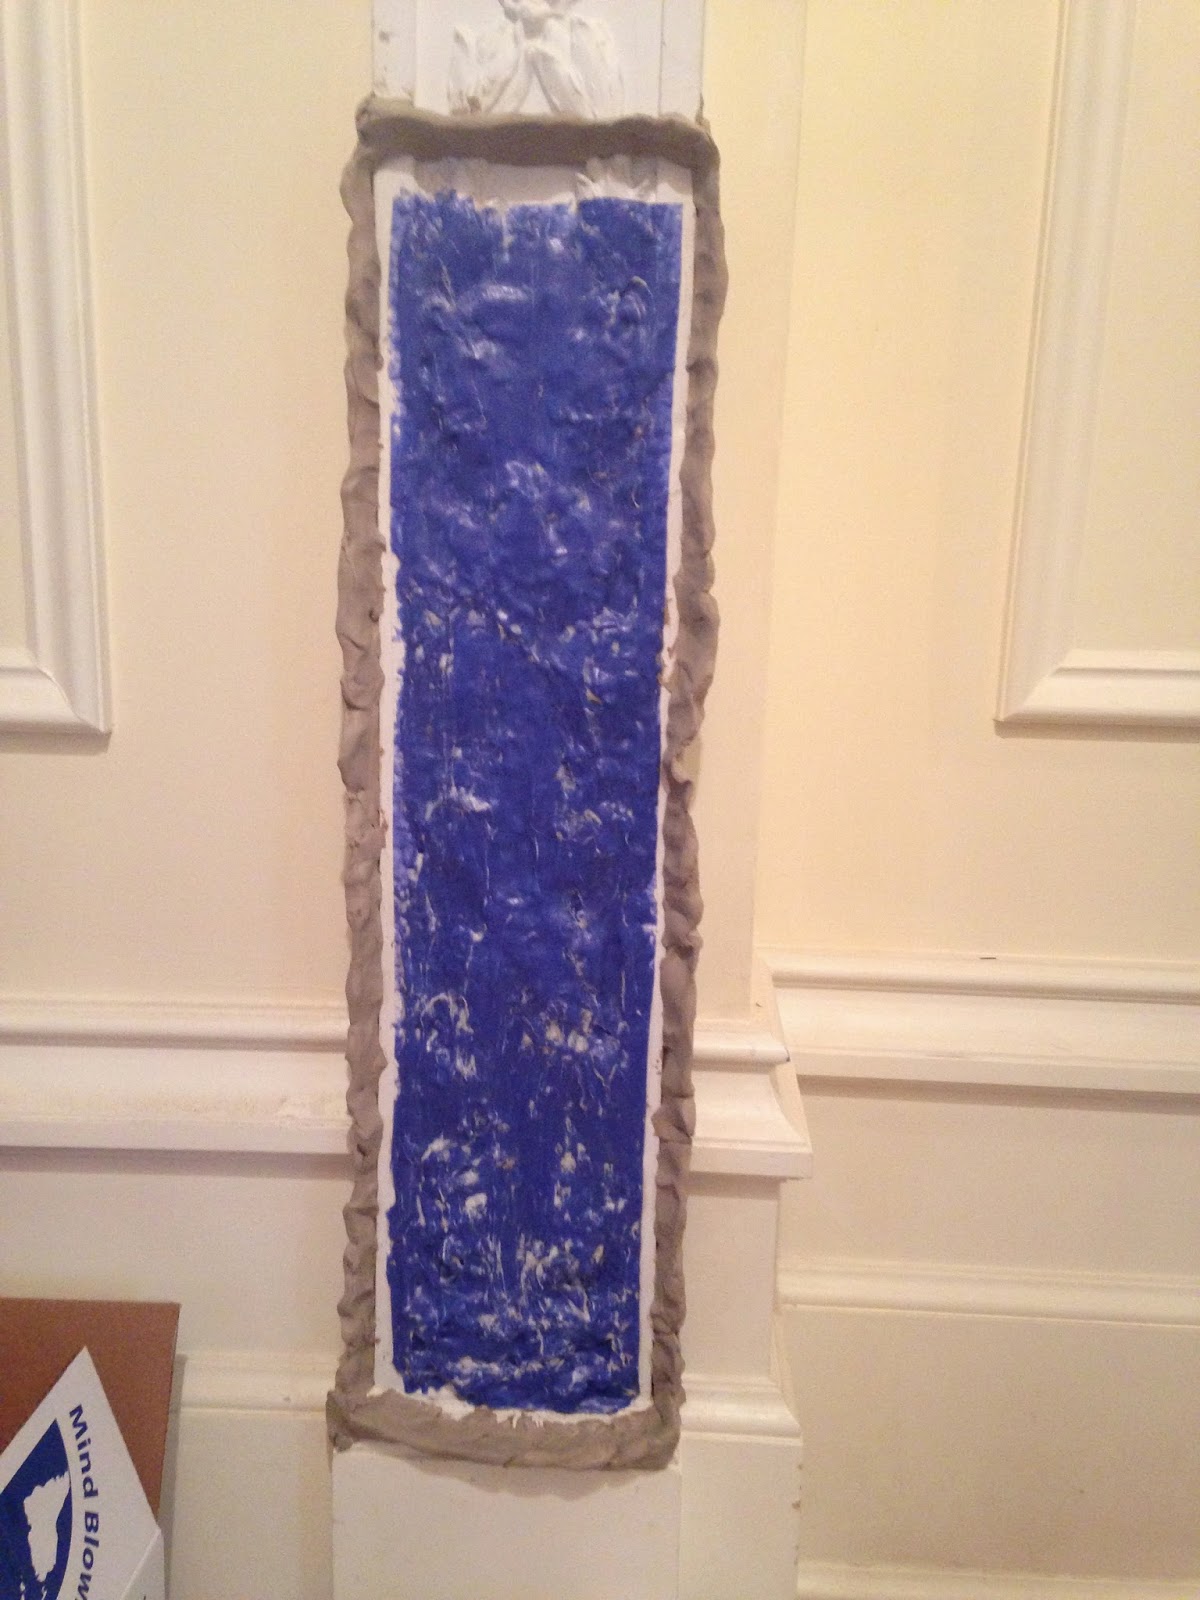
York City and take an on-site mould. We worked on a private apartment that was
being renovated. There was a hallway inside and half of it had decorative
pilasters and they wanted us to mimic those pilasters so they could match the
other side of the hallway.
This picture shows the ornamental capitol and shaft repeat pattern.
We needed to make a mould of the capital and the repeat pattern so that we
could take it back to the shop and make the complete pilaster.
  |
| In the above photos, you can see that we added wood and burlap for strength and support. The photos on the right are the final outside layer of the case. |
  |
Once back in the shop, we casted the capital and cleaned it up. Eduardo worked on the shaft and made it to the length that was needed. Once he finished that, he added the capital to the top and made a rubber mould of it. From there, the pieces would be cast then installed.
Running an Ellipse
My last day, my mentor John taught me how to run an ellipse of any shape or size. We used a horse that was already made just to save time but he talked me through the process of how to make the horse. On the horse there are two pegs strategically placed to determine the width and length of the ellipse.
 |
|
Once we did that we used the two pegs to determine the gap
on one side then we used a wood shim that we made the same gap size.
|
 |
|
Here's the end product. All of the gaps are
perfectly even and they all intersect at a perfect 90 degree angle. You can also see the two pegs that I mentioned earlier that are on the horse.
|
 |
|
From here, the process is almost the same as running a
regular mould. We greased the edge of the mould and we put burlap down for the
support.
|
 |
| Here is the ellipse once it was finished! |
Running a Circle
 |
|
Once we had the Styrofoam in place, we put burlap over the
form so that the plaster had something to stick to. We used a brush to brush the plaster onto the
burlap against the Styrofoam.
|
 |
|
We used a filler in our plaster mix so that the first few
layers weren’t wasted plaster. Once we
got most of the way solid, we were able to use pure plaster to create the top finish layer.
|
 |
|
Here is the final product. We only needed to create 1/3 of
the circle to make a sample.
|
Trims and Crown Moulding
Most of the work I did, I was working on custom trims. We would take a small section of the trim and cast more pieces so that we could point them and make them into a bigger piece so that we were able to pour rubber to make a mould. |
| I spent my first day in the custom shop casting these panels to put into a long section. |
 |
| Once I had all the pieces cast, we slid them in to complete the repeat pattern. |
 |
| We had to point the pieces to make it look like one continuous piece. Once we finished we were able to make a case then pour the rubber. |
 |
| Here is Eduardo examining the final mould. |
_______________________________________________________________
 |
|
After we had enough pieces, we ran a trim section and we put
the egg and dart pieces up against it and started pointing.
|
 |
| Here is the final piece and its rubber mould! |
_______________________________________________________________
I worked on a large piece of crown moulding. We cast over these small curved pieced to match the curve in the base. Once we had all the pieces we pointed them down to the pass and were able to make a case and a rubber mould from there!
Making a Sample
During my time at Hyde Park I was able to make a sample. A sample is a piece that is about 2 feet long and is basically a preview of a product for a client. It is a rather small but important project. If the client likes the proposed sample then they will accept it and we will re-create it in the shop on a larger and more precise scale. If they don't like it, they will work with the designers to change it and we will create another sample. This process can happen as many times as it takes until the client likes it. This sample that I made was the 9th for this particular client.
Flat Pointing
There was a project I worked on where there was a large
piece with a thick trim and we had to cut up the original piece to make it into
different dimensions. Once we cut it and screwed the piece down to the table at
the correct dimensions, we had to point the gaps and fill in the screw holes.
Here is the final piece ready for the rubber to be poured.

Ornamental Grille
I worked on an air conditioning vent cover system. The small flowers are about a square centimeter so you can image how small that is and how much work goes into it! You can see the gaps where the shadows are- we had to point all of those so that when we poured the rubber, it would seep through. Something that may seem so easy took about 2 weeks. we had to make 4 different sizes so it was a lot of cutting and pointing! Once we cut and pointed then we poured the rubber and moved on to the next one.

Ceiling System
My last project that John and I worked on was a ceiling system for a private in-home library. We started with a small square section of the basket weave pattern that was printed using a 3-D printer. We then made a rubber mould of that and cast those pieces to point them and make them into bigger panels. We then put our boarder down first and pointed that (almost like a frame). In the picture below you can see the separate panels. Once we had them all in, we started pointing and thats when I left to head back to South Carolina so John finished the project without me.
 |
| A few days later he sent me this picture of one of the completed rubber moulds. He has to make another size panel and do the same process. |
 |
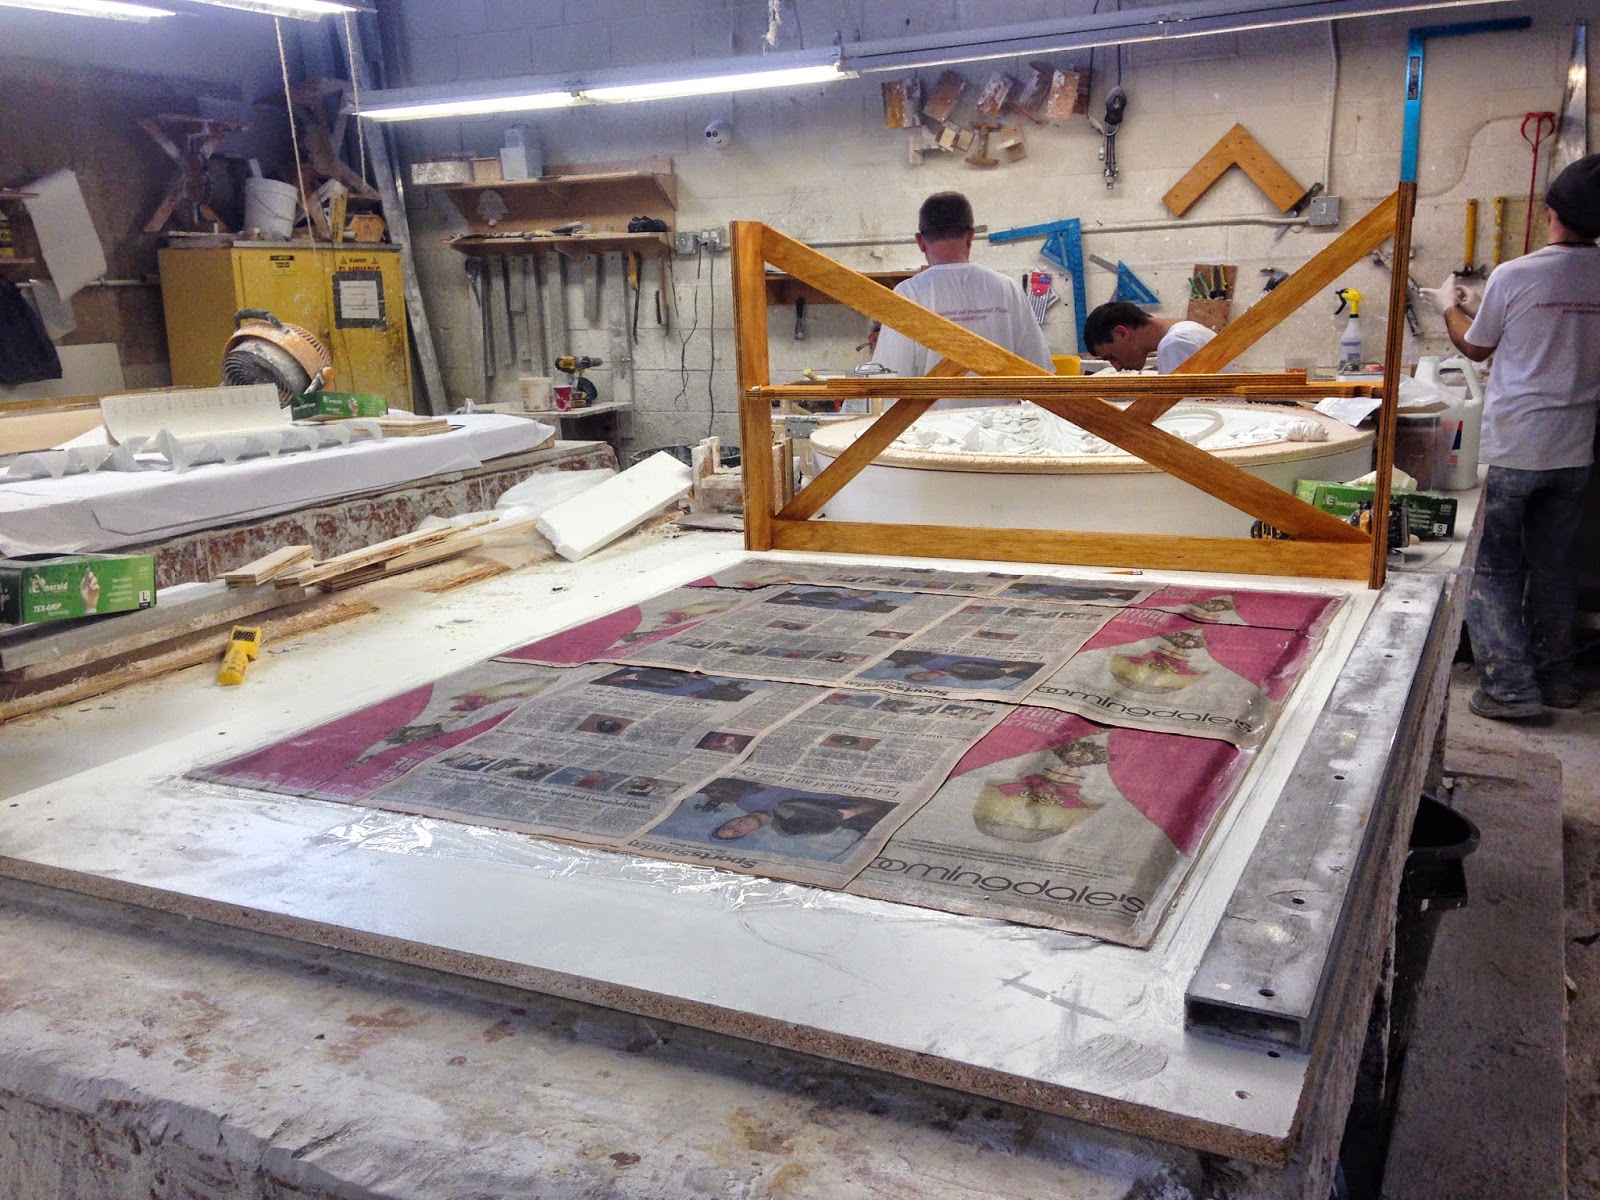
| First, you put down a layer of clear plastic wrap to seal the plaster piece. Next, you put down a layer of flat clay then a layer of soaked newspaper so it easily forms to the shape of the piece. |
 |
| Once that is finished, you cut out the section in wood to put across to make it flat so when you flip it over it is level and not tilting one way. |
Making Tools
When is comes to detailed plasterwork, using the right tools is a necessity. Its important to be able to change the tools to your preference. John helped me make some of my own fine tools. It was very valuable to learn to grind and cut my own tools and shape them to my desire.
And Last but Not Least…
Teaching Eduardo to take a selfie!
I had an AMAZING experience and I want to thank everyone at Hyde Park Mouldings for taking me in and making my time up there so special!


No comments:
Post a Comment